PRO GAPS FILLERS ARE DESIGNED TO DELIVER PROFESSIONAL PAINT FINISHES
Achieve flawless results with our premium Pro Gaps Filler range, expertly crafted for trade professionals.
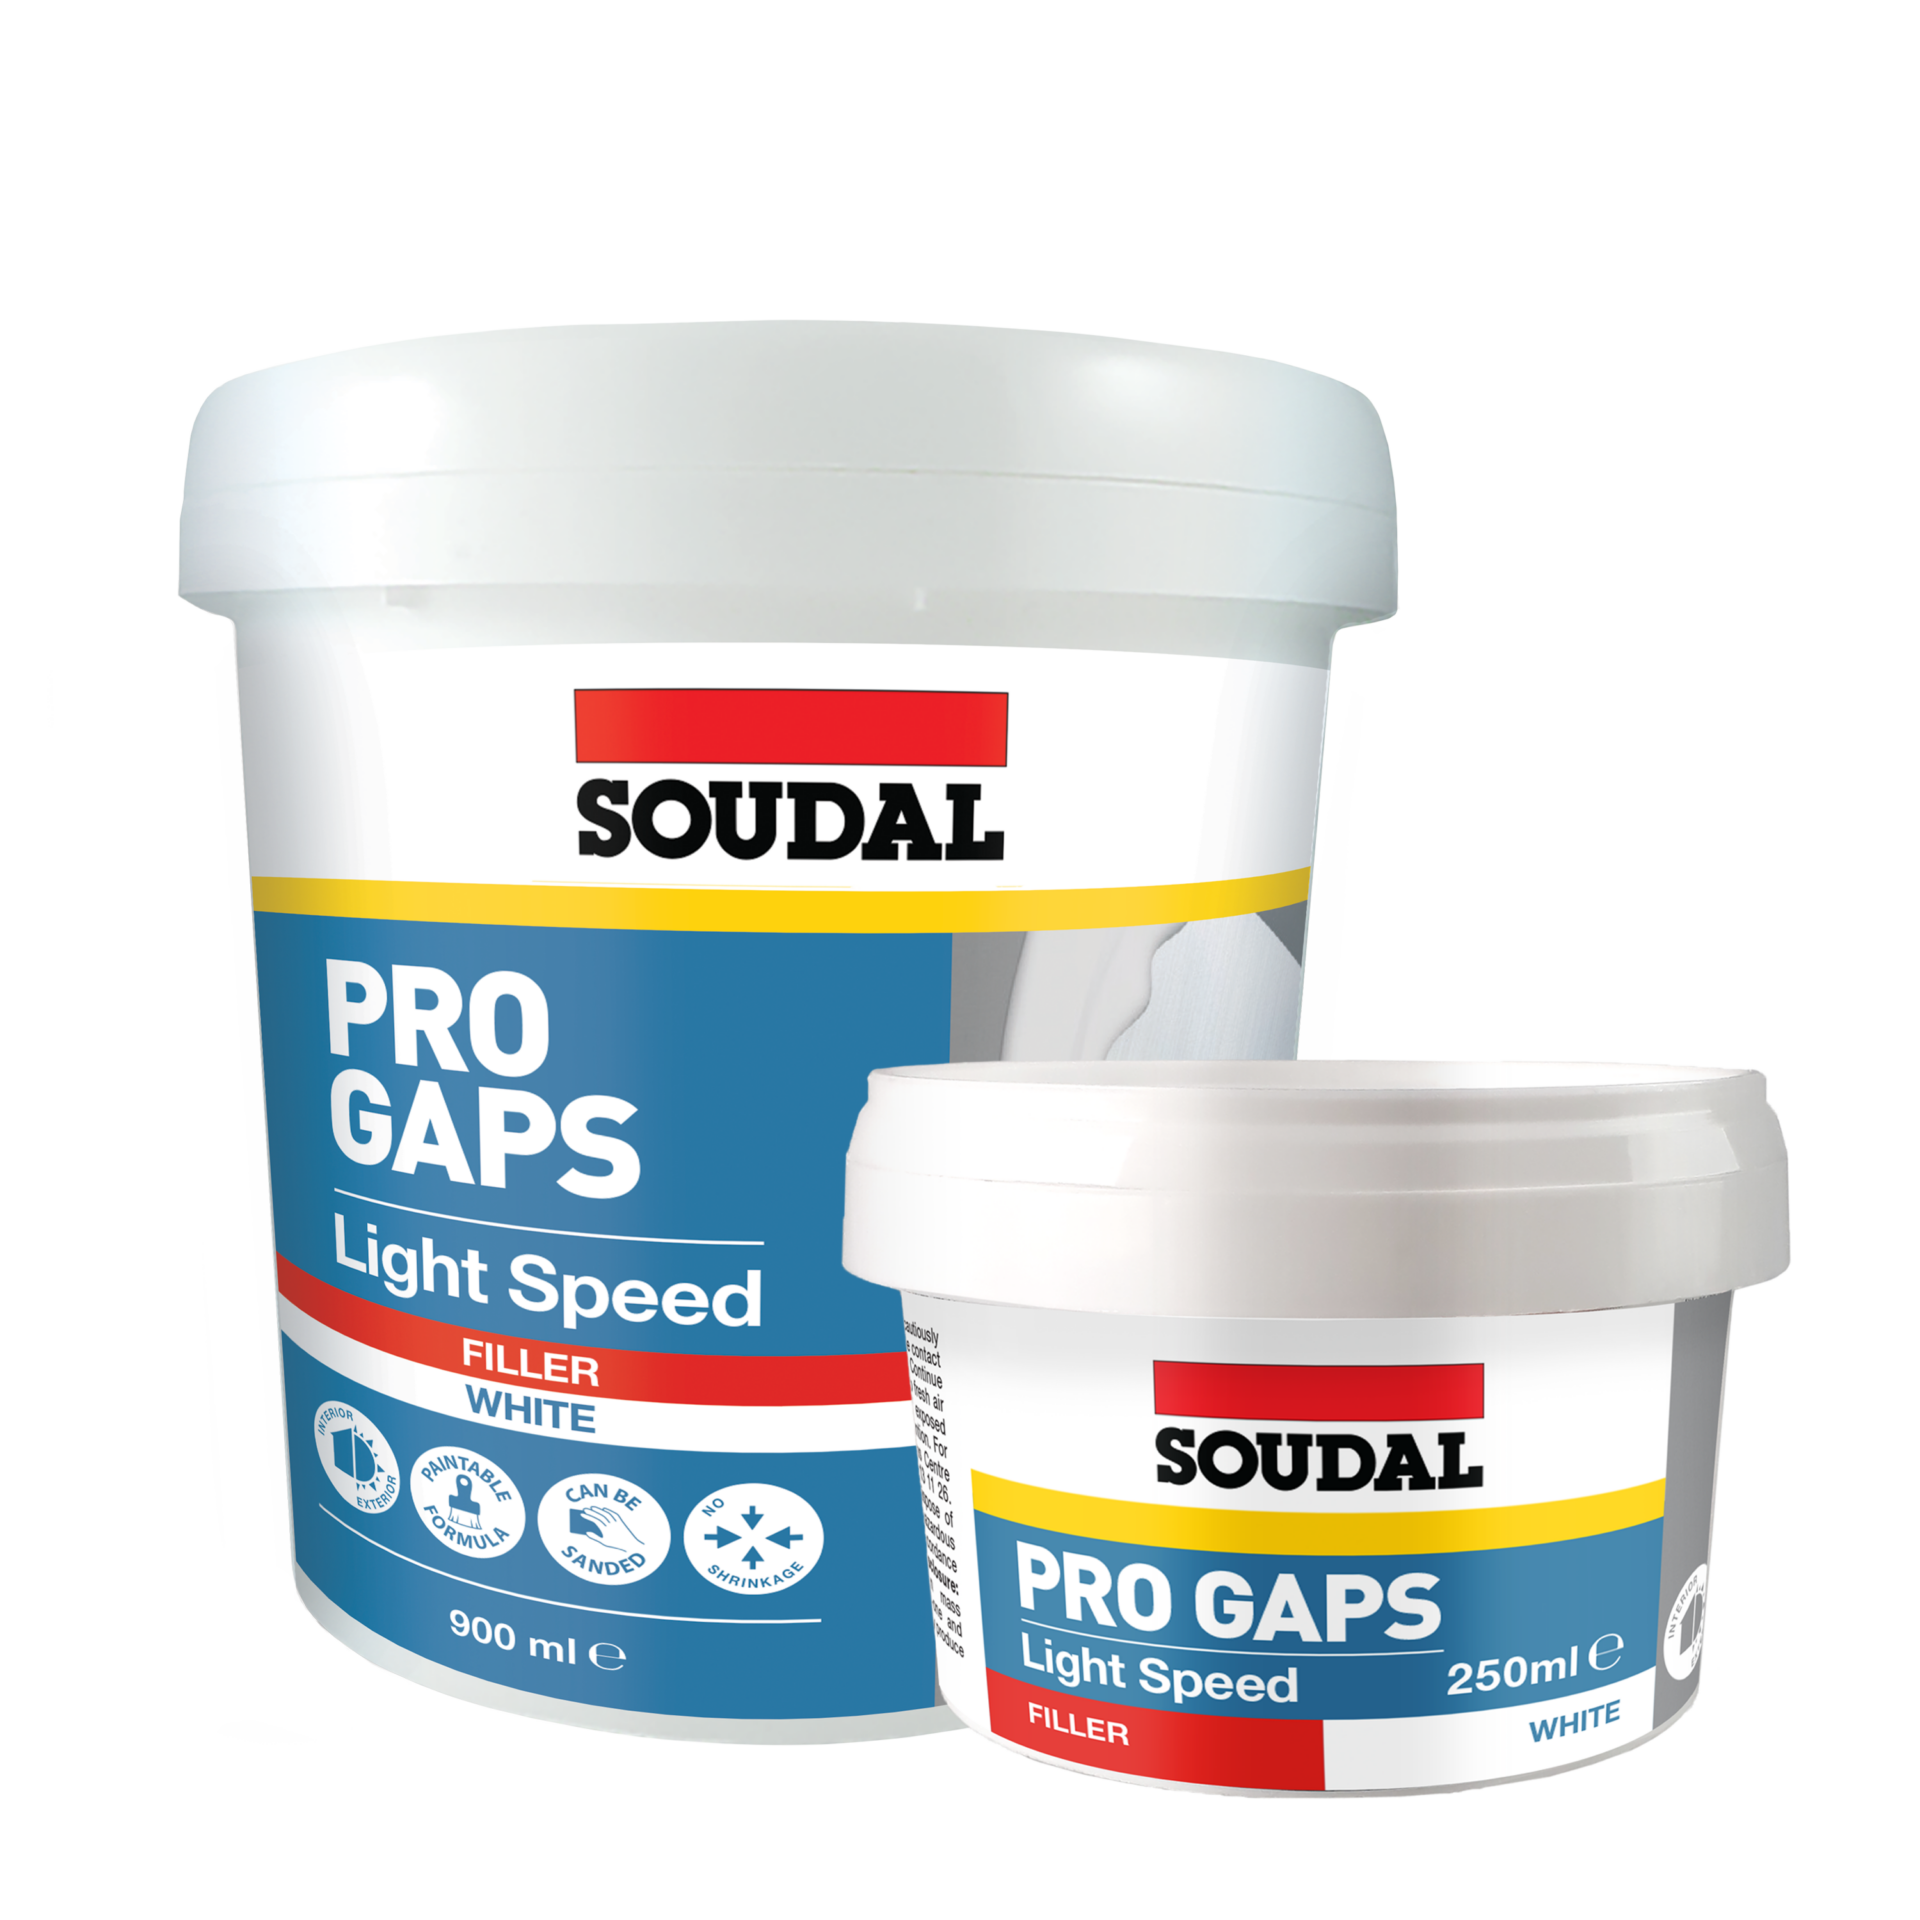
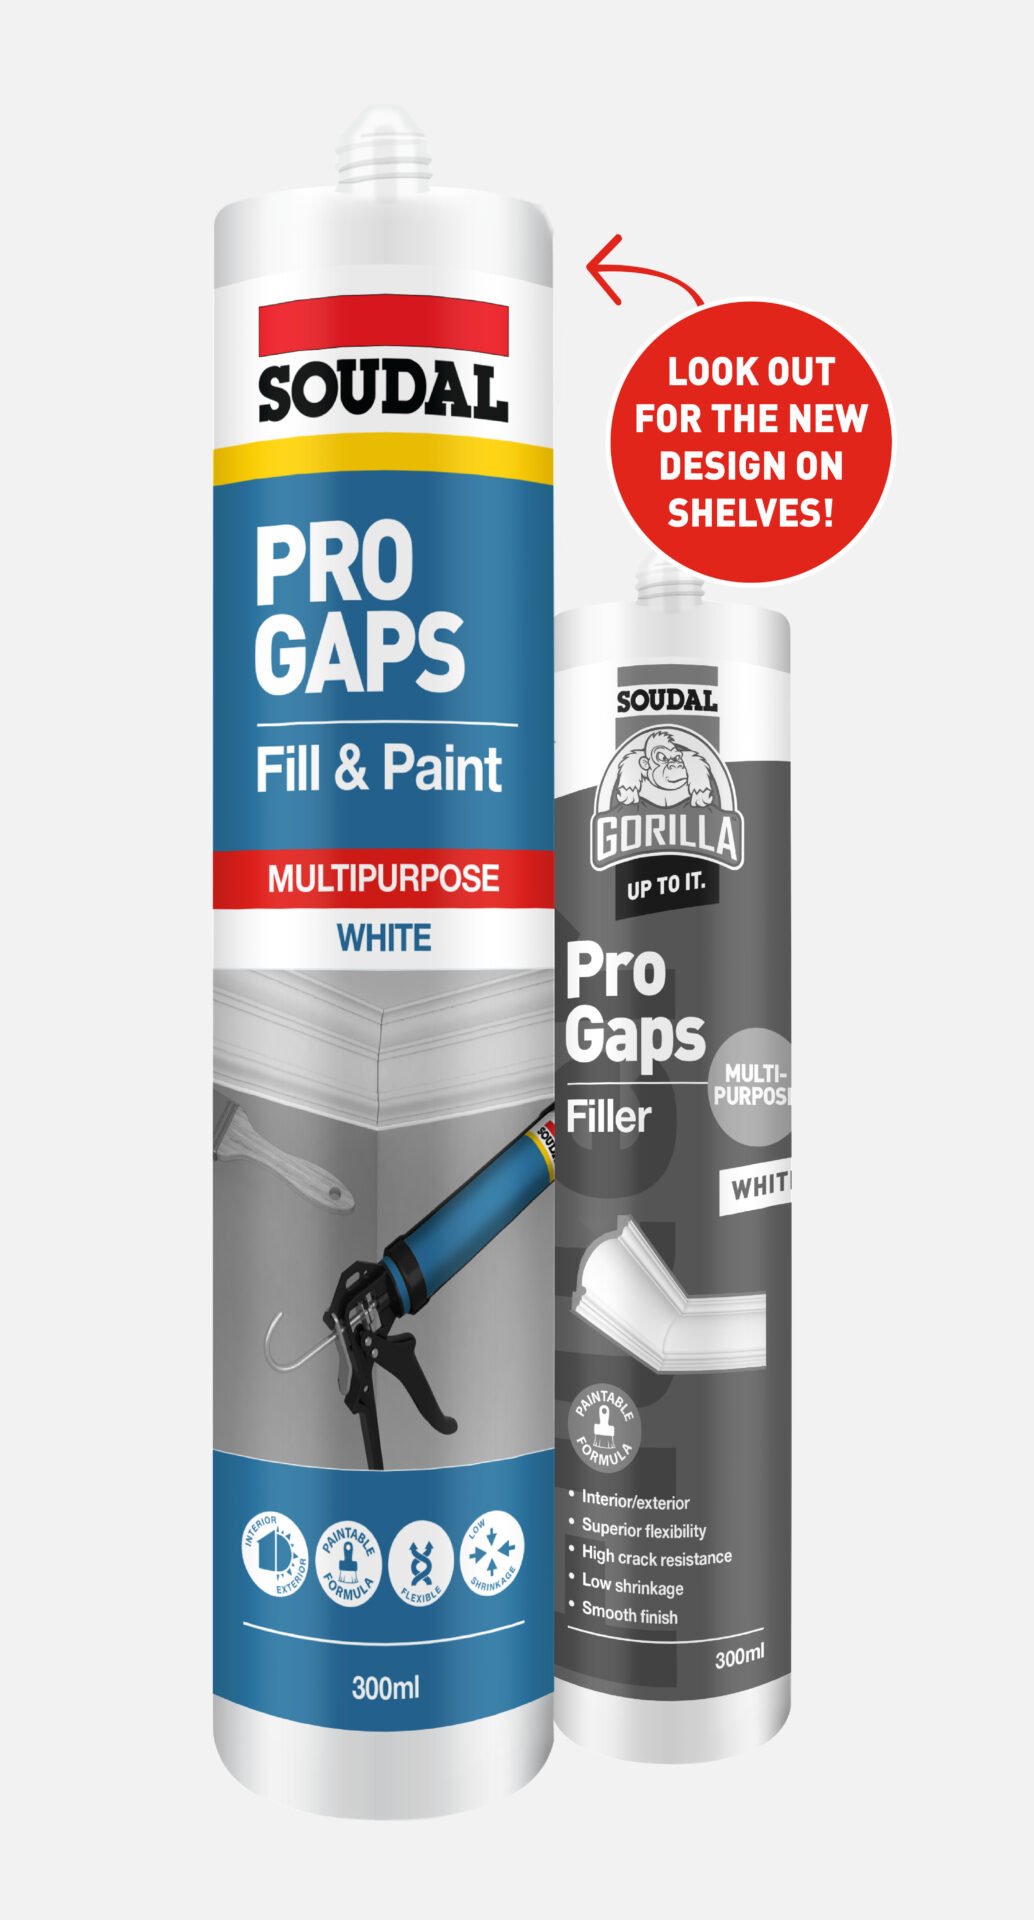
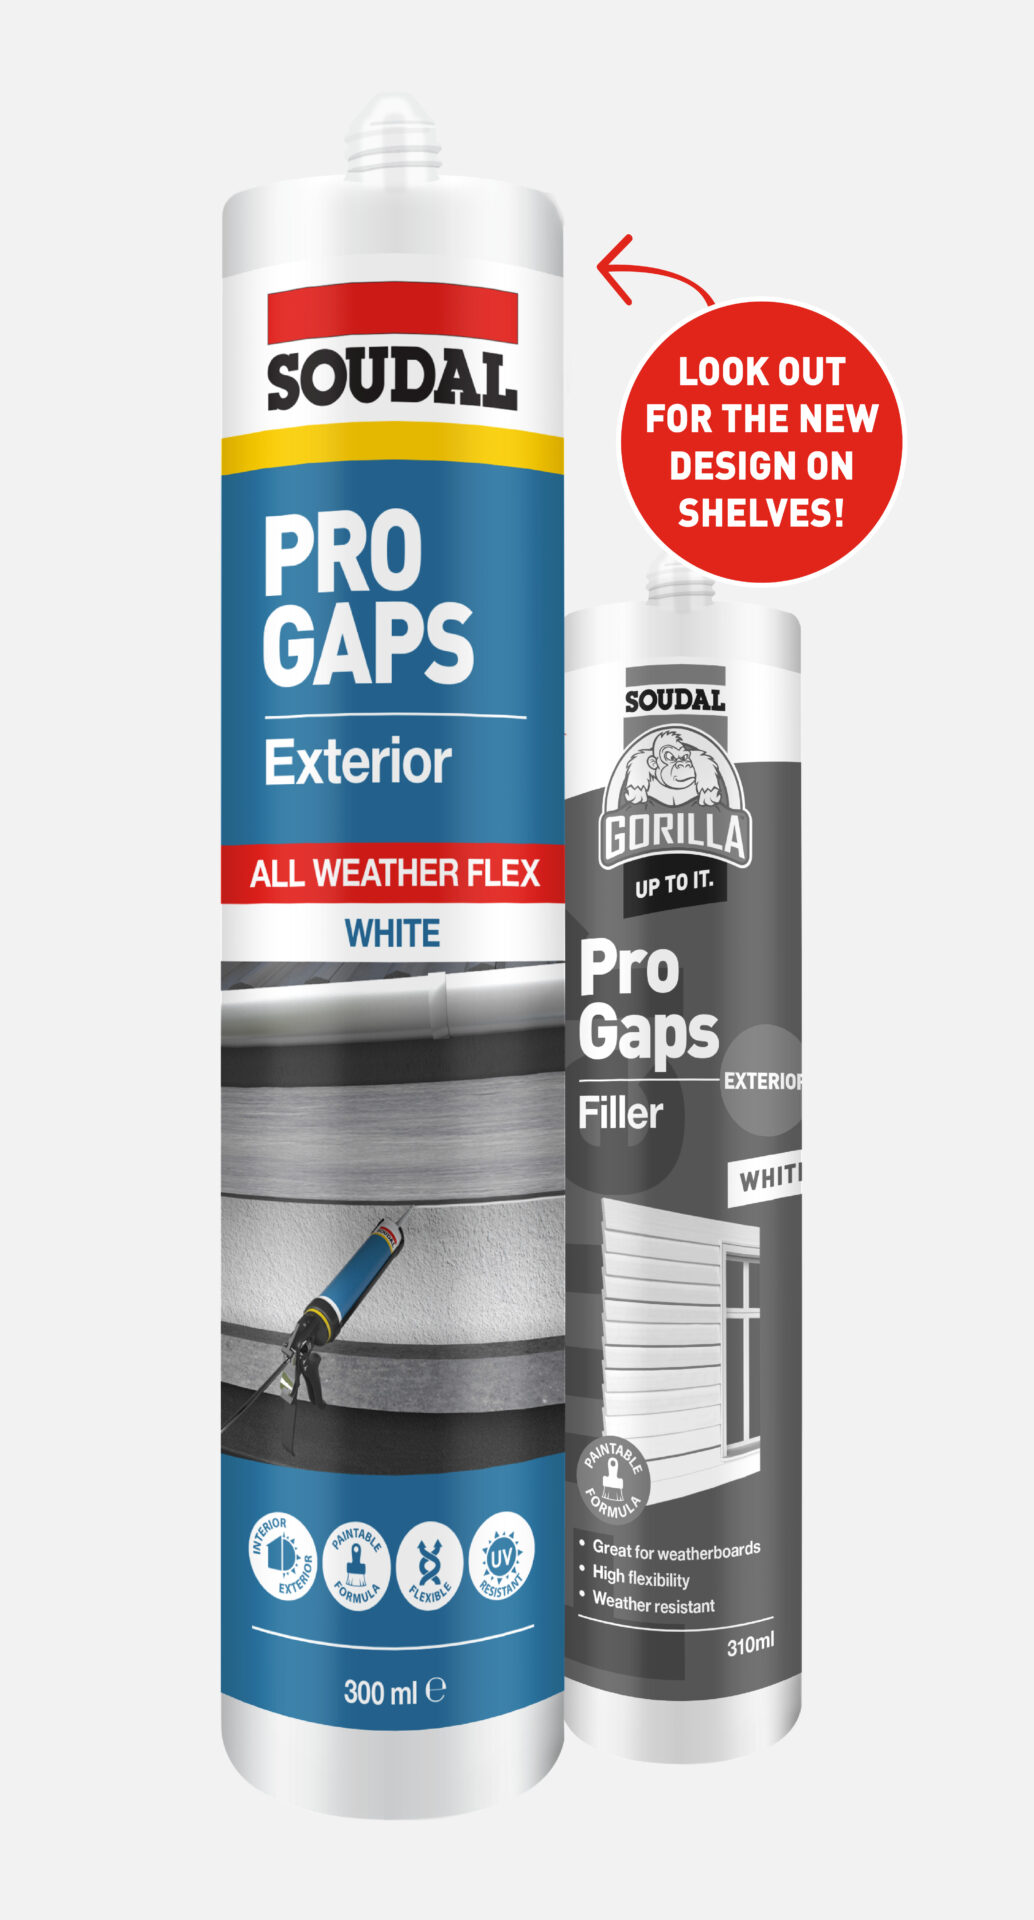
Pro Gaps Multipurpose is a flexible solution ideal for both interior and exterior use, delivering a smooth, flawless finish every time. Our Pro Gaps Exterior Filler is specially designed to withstand New Zealand’s challenging weather, offering durable, long-lasting results. The Pro Gaps Quick Dry formula helps save time, allowing you to move on to the next stage of your project quickly.
Designed for effortless application, our Pro Gaps fillers deliver a smooth, crack-free finish, creating the perfect surface for an impeccable paint job. Whether filling gaps, cracks, or joints, this is your go-to product for professional-quality results with every application.
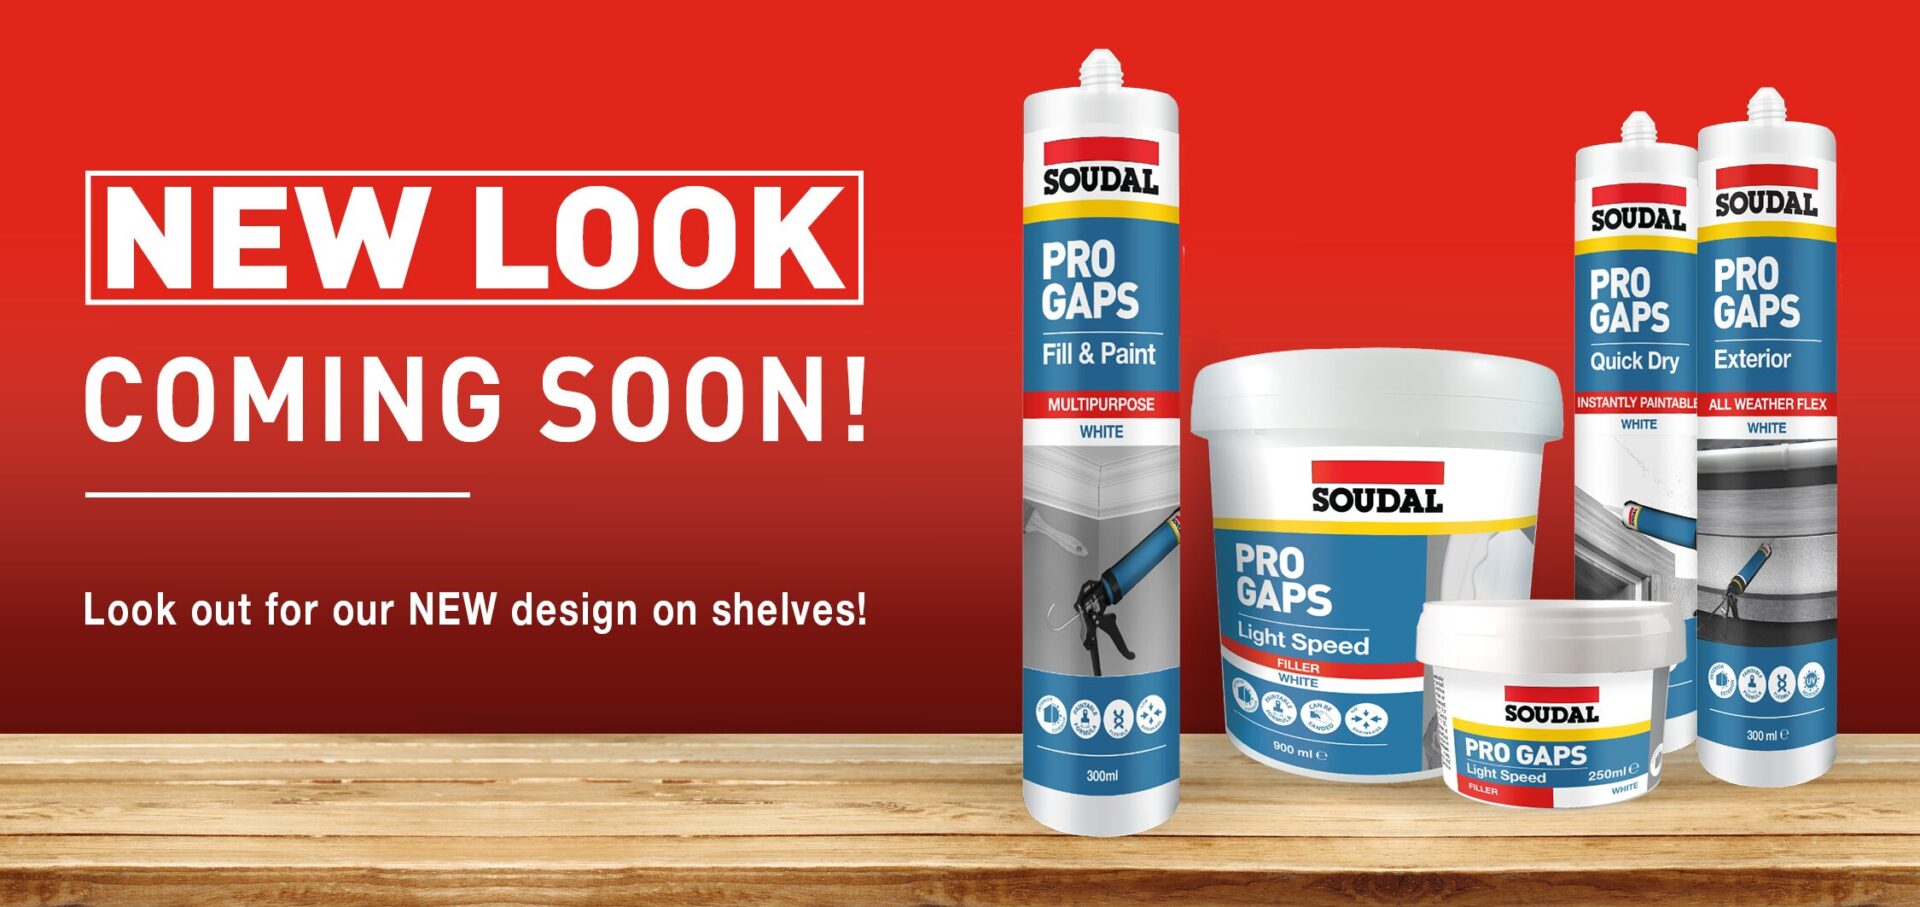
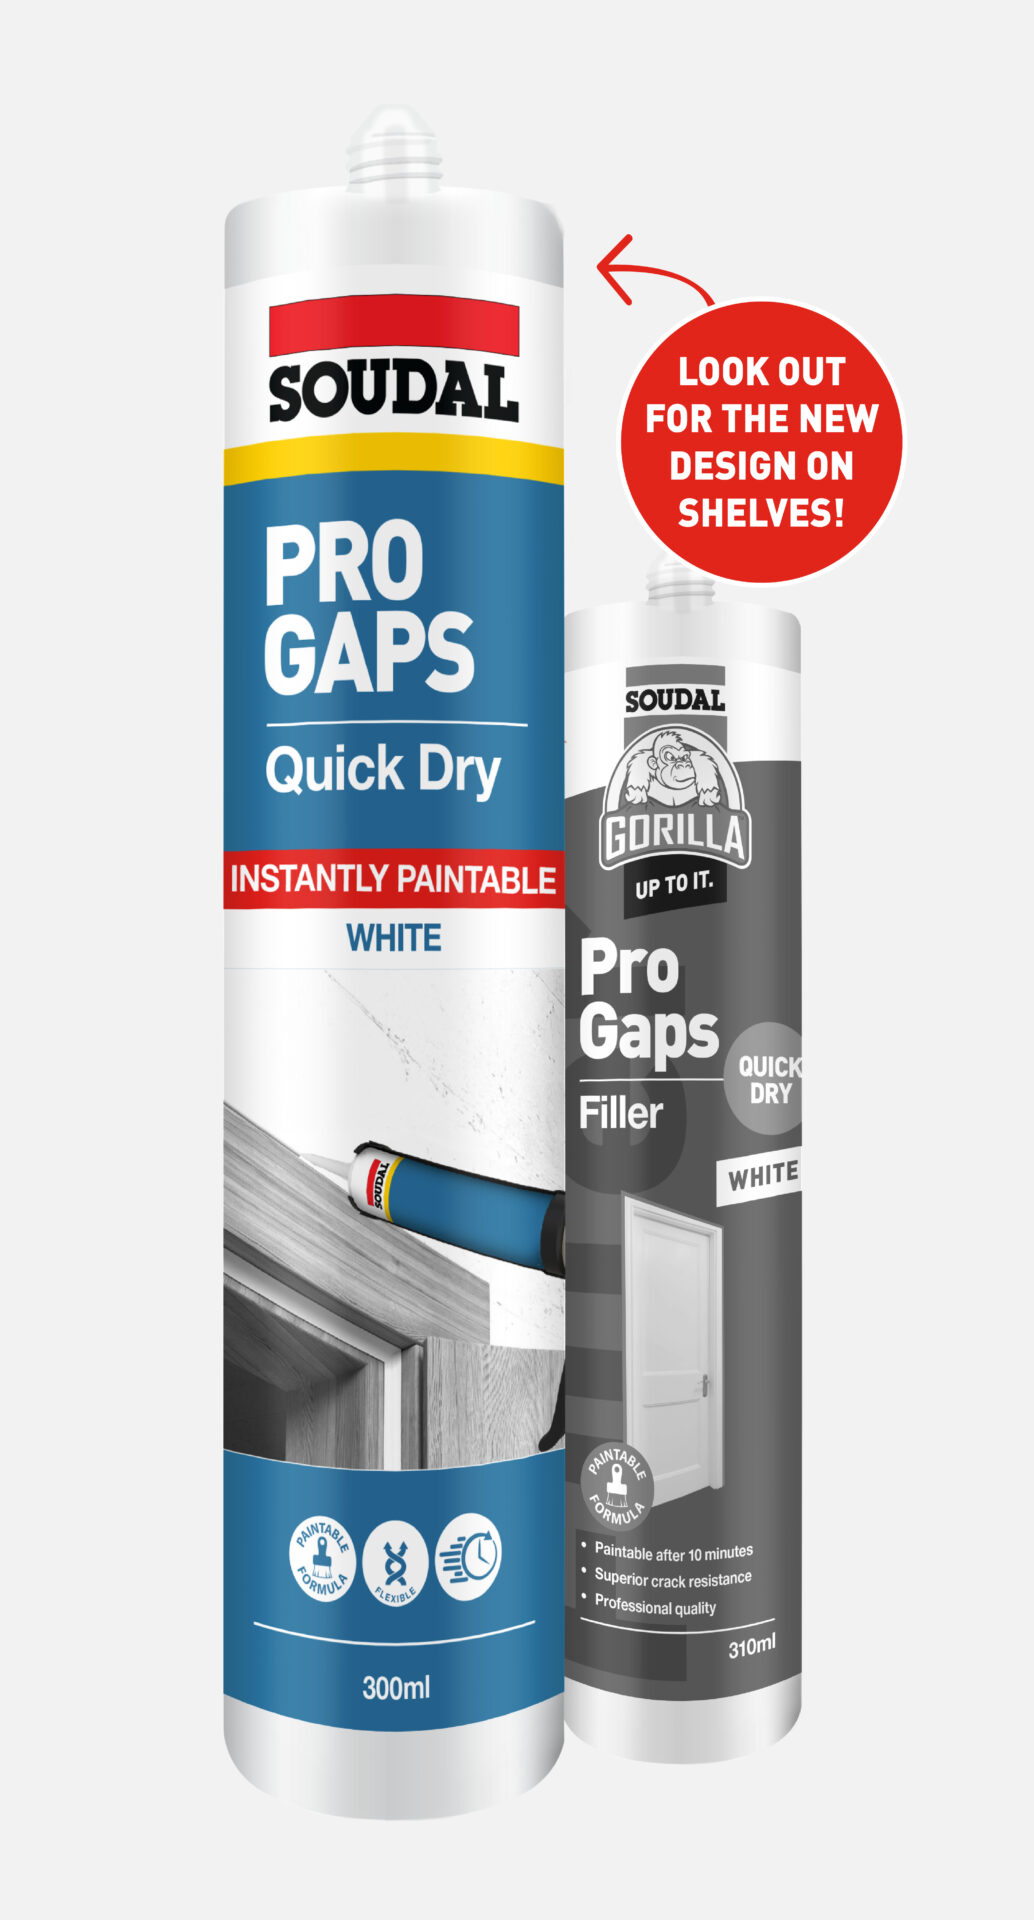
Exciting news our packaging is getting a fresh new look!
Our updated design is rolling into stores soon, thoughtfully crafted to help you quickly find what you need so you can tackle any job with confidence. Cleaner, clearer, application-focused packaging for a more user-friendly experience.
Look out for the new look designs hitting stores soon!
Features & Benefits
|
|
Features & Benefits
|
|
Features & Benefits
|
|
Features & Benefits
|
|
ARTICLES & FAQ’S
FAQ’s About Filling Holes
A broad knife, sanding paper, sanding block, Filler/Flexible Filler/Expanding Foam (depending on the job)
Large or small, Indoor or Outdoor (every environment can be different)
This is all going to depend on how big the hole you are filling is and what you are using. You will also need to consider whether the filler you are using allows you to fill a deep/large hole in a single go, or if you will need to build it up in layers.
Almost any type of hole can be filled in any surface as long as the correct preparation, choice of product and filling is carried out.
A textured finish is possible however you will need to create the right surface appearance to match the surrounding surface, this may even require some specialist techniques to achieve this
Remove any flaky/dusty/rotten material, sand back the edges slightly to ensure there is no lifted surface at the edges.
Thoroughly blow out the hole, so it is free of dust and ensure it is dry.
Work the filler into the hole ensuring that you fill the back of the hole first, this ensures that you have no gaps sitting in behind the filler. You should always fill to just above the surrounding area so that you have a surface to sand back to. With some fillers you might need to build the depth of the filler up in layers, allowing it to cure between fills.
This all depends on what product you are using and the temperature of the area you are working in and the temperature of the surface you are filling.
For an epoxy filler (Pro Gaps Bog), the time may be as short 20 minutes until fully cured.
For a non-flexible filler (Pro Gaps Light Speed), the time will vary but may be as short, for some types, as 5-15 minutes before you can sand while for others it may be several hours.
For a flexible filler (Pro Gaps Fillers range), these are not really designed to be sanded but rather just tooled off to a smooth finish, some of these you can paint immediately.
As long as you haven’t tried to fill the hole with something like silicone, it is possible to paint over repairs.
Use a 80-120 grade sandpaper and a sanding block where possible as this will give an even pressure over the area you are trying to sand, especially if on a flat surface.
This is based on the environment, but if you have chosen the correct product for the environment, prepared the hole, filled it and coated it, then you could expect the repair to be permanent.
FAQ’s About Filling Gaps
If you are filling narrow gaps (between two surfaces) you are best to generally use a latex-based acrylic filler (Pro Gaps Fill & Paint) as this can be quickly smoothed off with a painter’s broad knife or silicone finishing tool (Gorilla Sealant Finishing & Removal Kit).
If you are filling holes in plasterboard or timber you really require a ‘static filler’ (Pro Gaps Bog or Pro Gaps Light Speed) that does not move, so that you get a good flat surface to paint over.
This is really up to you, if you think it is unsightly, and you are repainting a surface. Then doing the filling and finishing will give you a far better finish.
An expanding foam will fill larger gaps, but the you need to consider the following:
To use a foam, the gap really needs to be over 15mm in width, but you will need to think about how much you are putting in as there are often large open spaces behind the area and it is generally not advisable to just keep adding foam as the gap in behind was created for a reason by the original builder.
The expanding foam will need to be trimmed back below the top surface of the gap/crack (as the finish of the cut back expanding foam is not visually nice)
If outdoors, then the expanding foam is not UV stable so will deteriorate over time.
Cutting back the expanding foam means that the outer surface will no longer stop water coming through.
All expanding foams will, after being trimmed back, need a filler coating over it to make it look better but also to protect it.
Yes provided the filler allows you too, this is why the choice of using a silicone based product should be avoided unless you know that you will never be wanting to paint over that area.
Make sure any loose material is removed, and the gap/hole is clean, dry and dust free.
Work the filler into the hole ensuring that you fill the back of the hole first, this ensures that you have no gaps sitting in behind the filler. You should always fill to just above the surrounding area so that you have a surface to sand back to. With some fillers you might need to build the depth of the filler up in layers, allowing it to cure between fills.
This all depends on what product you are using and the temperature of the area you are working in and the temperature of the surface you are filling.
For an epoxy filler (Pro Gaps Bog), the time may be as short 20 minutes until fully cured.
For a non-flexible filler (Pro Gaps Light Speed), the time will vary but may be as short, for some types, as 5-15 minutes before you can sand while for others it may be several hours.
For a flexible filler (Pro Gaps Fillers range), these are not really designed to be sanded but rather just tooled off to a smooth finish, some of these you can paint immediately.
Yes, but you need to understand the environment that you are working in and the conditions that the filler will have to endure over its life. It may be that you need to make a more careful selection of the type of filler when working outdoors than you may have to indoors.
Indoors generally only when you redecorate or make alterations.
Outdoors, will depend on the type/location of the gap that you are filling, but generally, expect a repair to last a number of years. Some of this will depend on your selection of a filler and how much movement it is subject to.
Filling gaps has several advantages to help with energy efficiency:
- Prevents unwanted air flow or drafts outdoors.
- Can stop water or water vapour from coming inside.
- If you are filling gaps in areas where insulation cannot be inserted (and there are small spaces), if you use expanding foam then you will improve the overall energy efficiency of the space provided you fill to a depth as outlined in the technical data sheet for Pro Expanding Foam.